
1818's Men's Trousers
- May 17, 2017
- 4 min read
Men's trousers can't be that hard to make, right?
After finishing the freaky Frankenstein feet it is time to move onto the making part of the course, men's trousers. Doesn't sound to hard, but I'm eating my words as I'm typing them as out as my uni loves to give us a seemingly easy project then twist it up to make it anything but easy. Alas my theory was correct and it transpired we were to make these men's trousers for women, our class mates. This doesn't sound too hard yet but when the design is a straight line and a woman is anything but a straight line it can get complicated. To add to this we are not making out own designs, instead we are paired up and making our partners design. Putting that extra little bit of pressure on to get these perfect.
Along side this project, we are required to make a "Sample book" which we add to each time we come across a new skill ...... I hate the sample book with a passion. But hey ho I will merrily only do only half because it's not a requirement.
To start we made a modern block pattern using our partners measurements, and boy would you be surprised with the amount of maths required for creating a pattern. You can't quite see it in the picture but I can tell you it's a god damn lot of maths.
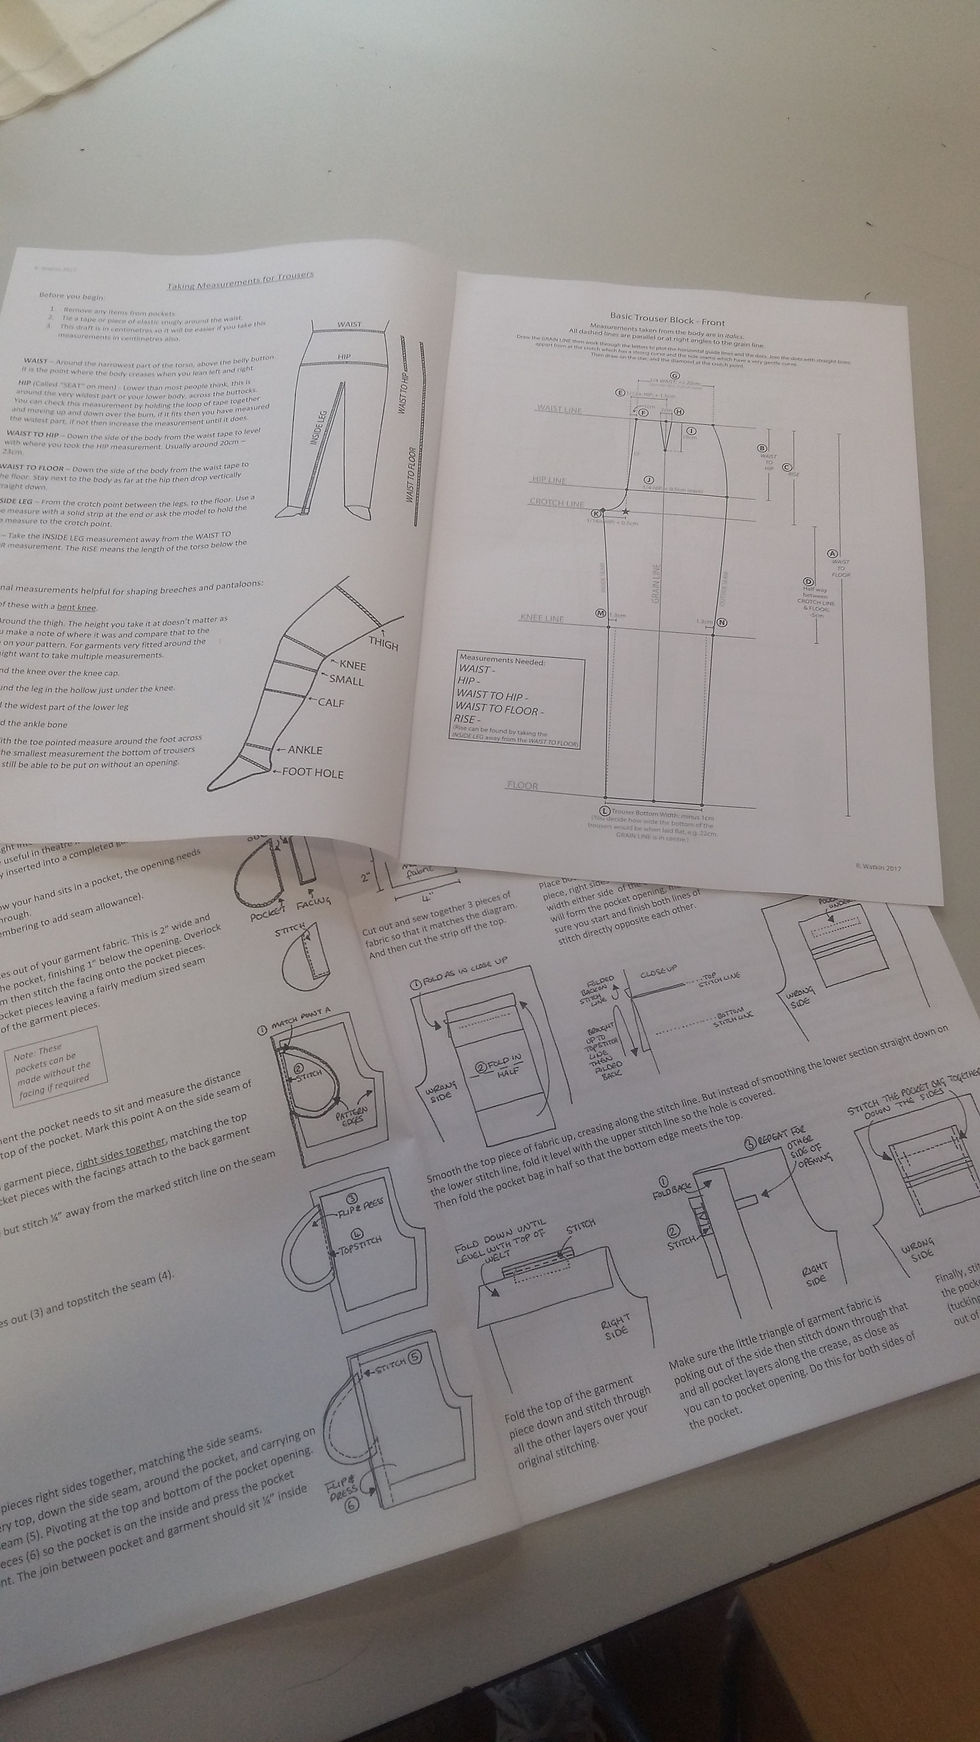
Creating the patterns is actually one of my favourite parts of the making process as deep down I love the maths and its quite soothing to see how a few measurements can transform into this fully prepped pattern. Once this was done it was time to alter the modern pattern to mimic a pre-existing historical pattern of "Nethergarmets" This pattern I can say looked nothing like a trouser pattern I had ever seen before. The seat of the design turned from a scoop to a straight line, the waist was squared out and the legs were now on a slant. Turns out the seat of the trouser was like this as the fabrics that were available in the 1810's had no stretch in them, and when riding horses men would need the extra space to be able to sit straddled comfortably. It does however give a weird saggy bum look. Not the most flattering look.
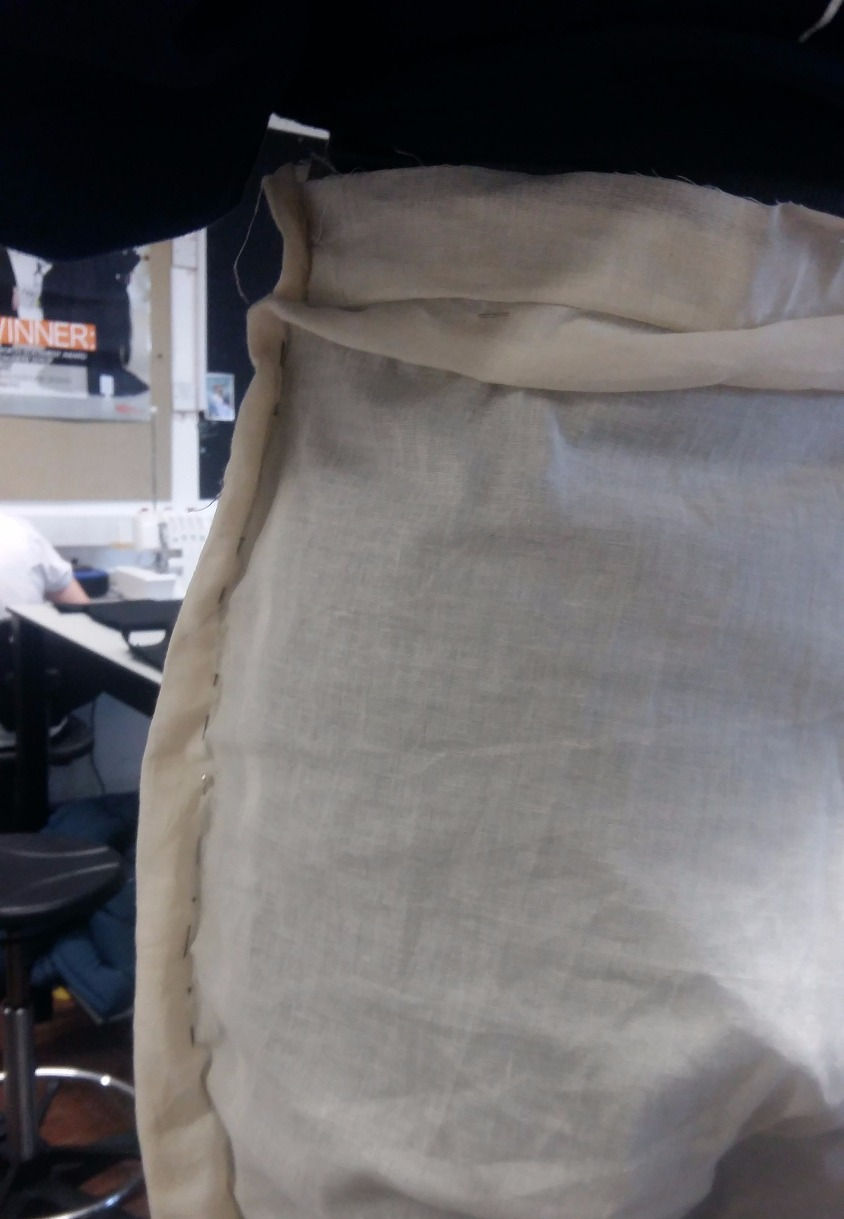
The pattern was then cut from calico for a toile to fit my model to make alterations. The toile fit quite well but the designer wanted the trousers to fit tighter.
Here are the alterations I needed to make...
Waist being taken in as well as hip
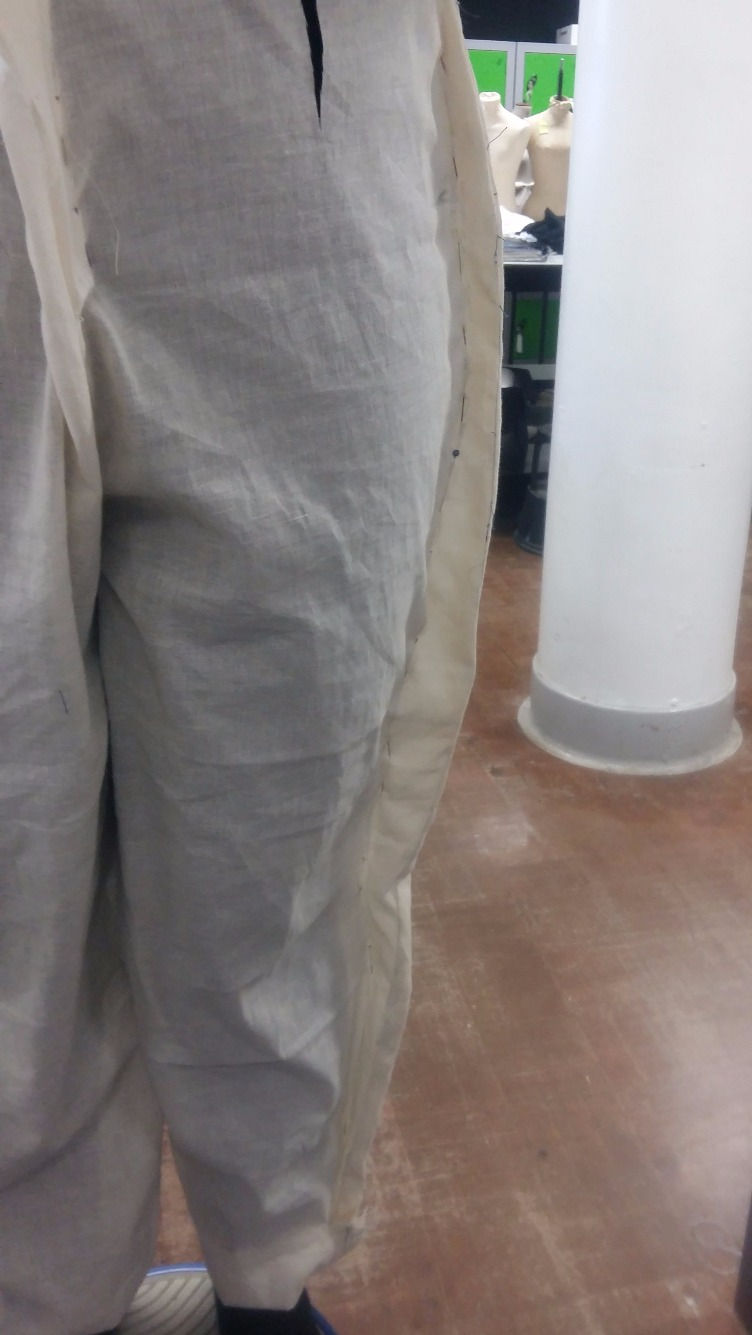
Full leg taken in and fall front cut in
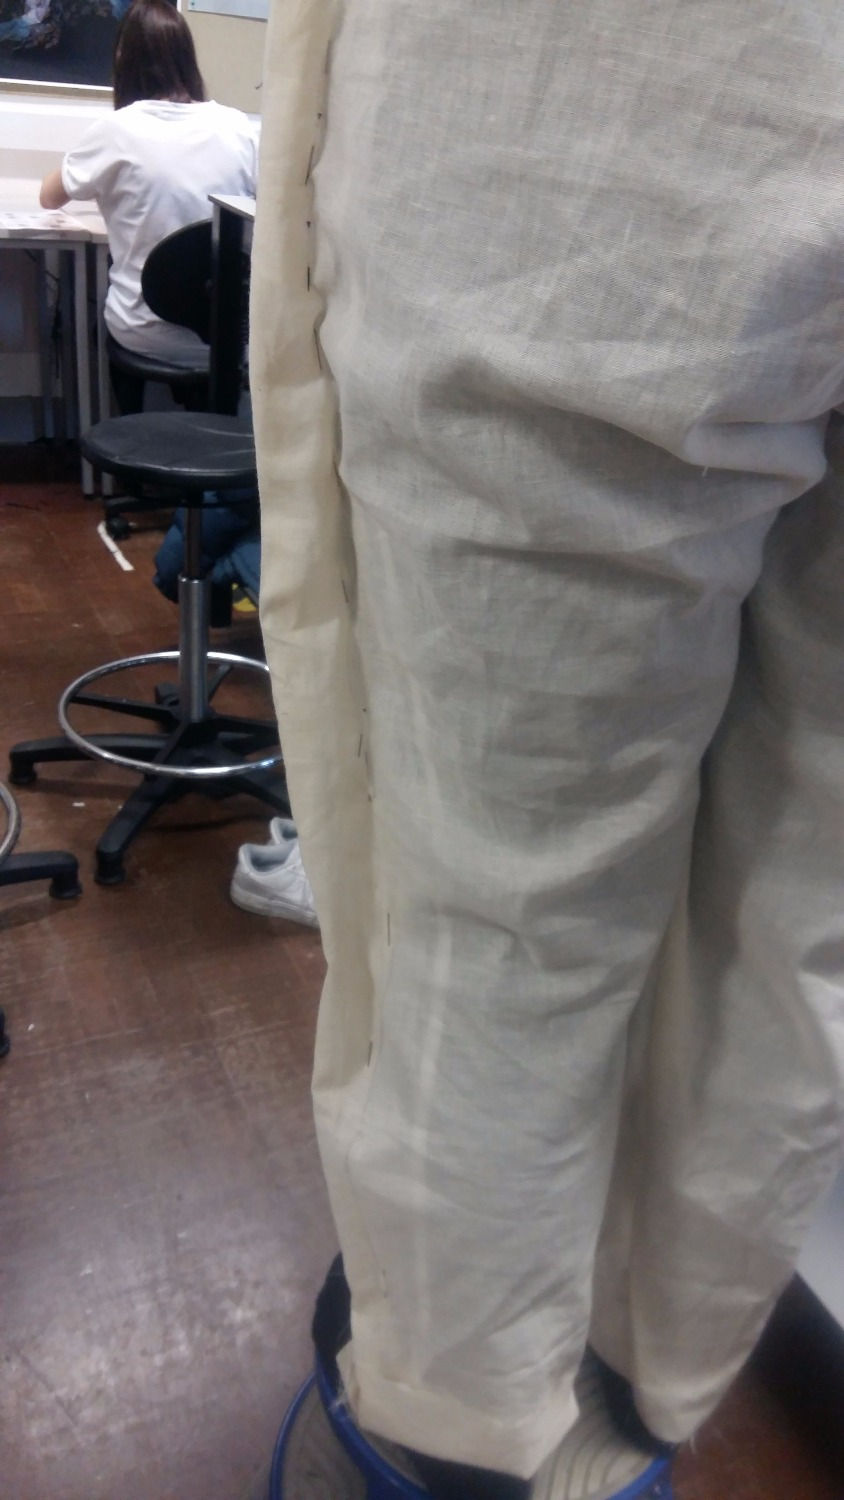
Leg from behind and the hem at the correct length
From this fitting I noted that as well as taking the legs to make them more fitted, I also needed to raise the waist as the crotch was too full. Also this fitting helped me determine how long the trousers needed to be and how big the hem was to be.
Part of this project was to make a Fall Front for the trousers, this is a series of flaps on the the front of the trousers that act as a fly/opening. These flaps are all buttoned together and to the waistband. This part of the construction I found the hardest as this was an unknown technique to me.and it can be quite hard to wrap your head around. This is why, after cutting out in my main fabric, a medium weight black cotton, I chose to do this part first.
The rest of the construction was pretty simple and quick, I also had time to insert some trouser pockets. Something I learnt about costume making during this project is that when making for theatre, a larger seam allowance is favoured as this means the garment can be altered easily. As well as this, pockets are also favoured as this can help the actor keep props on their person.
Now, remember when I said earlier in this post when I said my tutors like to throw a spanner in the works. That's exactly what they did. Once we had made our trousers, perfectly pressed, neat and tidy. We got the bombshell we had to "distress and breakdown" our precious finished garments! I must admit I'm being rather over dramatic about this, it was great fun doing this. But it still was hard to do in knowing only hours ago you were holding a perfect looking garment and now it was covered in clay dust!
To distress the garment there was a range of techniques we could use to get varying degrees of breaking down. As the design I had was for a blind man who didn't go out much, I focused on making the trousers look old and well lived in in a subtle way. This I achieved by using sandpaper and a cheese grater to pile the fabric and make moth like holes on the seat, knees, pockets and button holes. On top of this we had a powdered clay that can be used to give a dusty look, although making us all sneeze like crazy, it was really really effective and I loved the look it created. On the pocket opening and the button holes I added some leather wax and grease to help add to the illusion that an actual person has used this garment for many years.
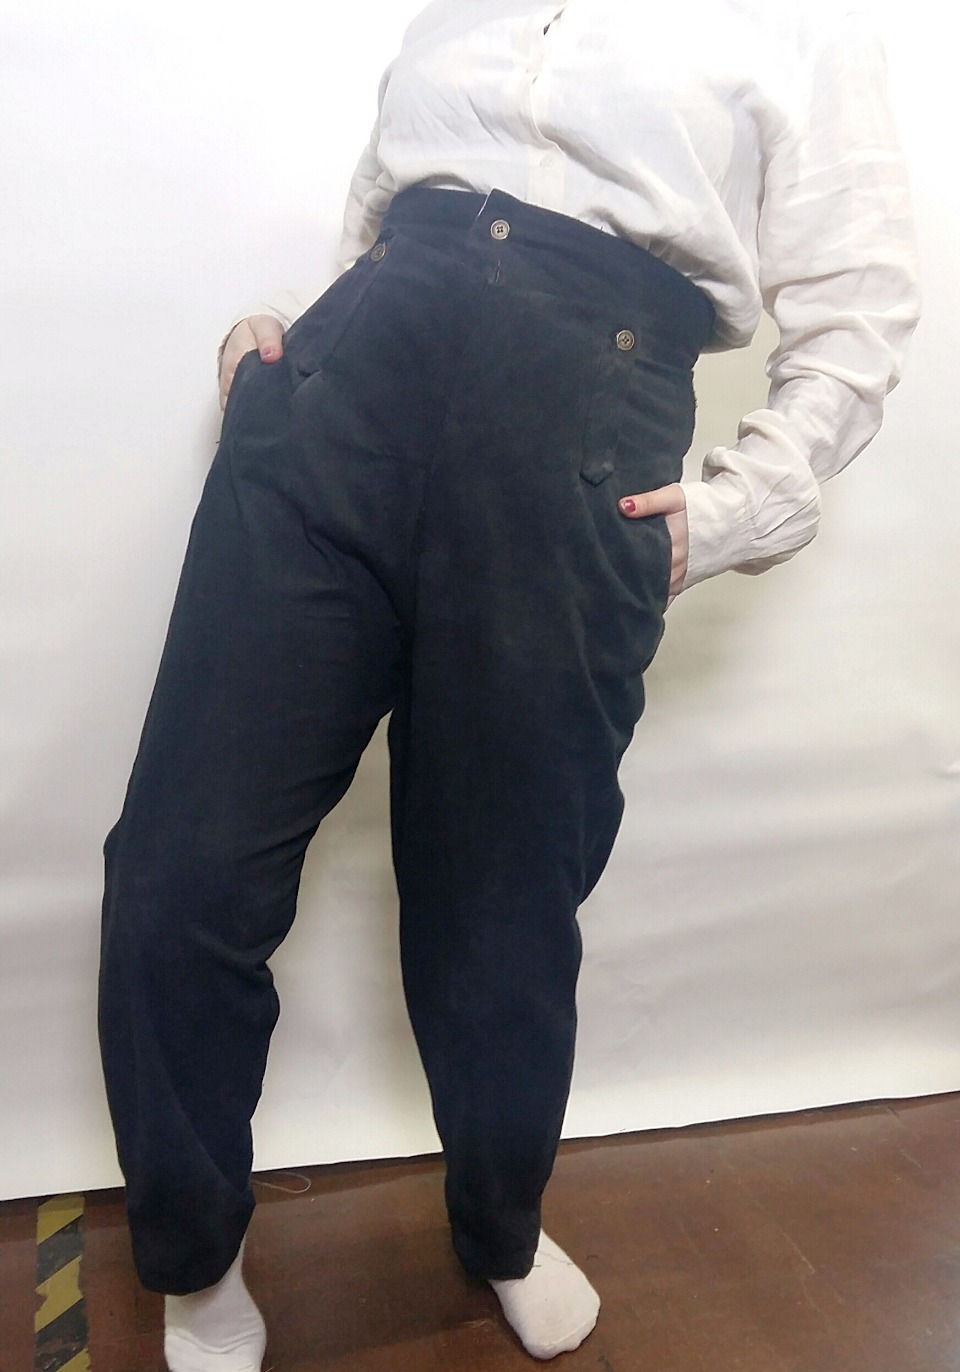
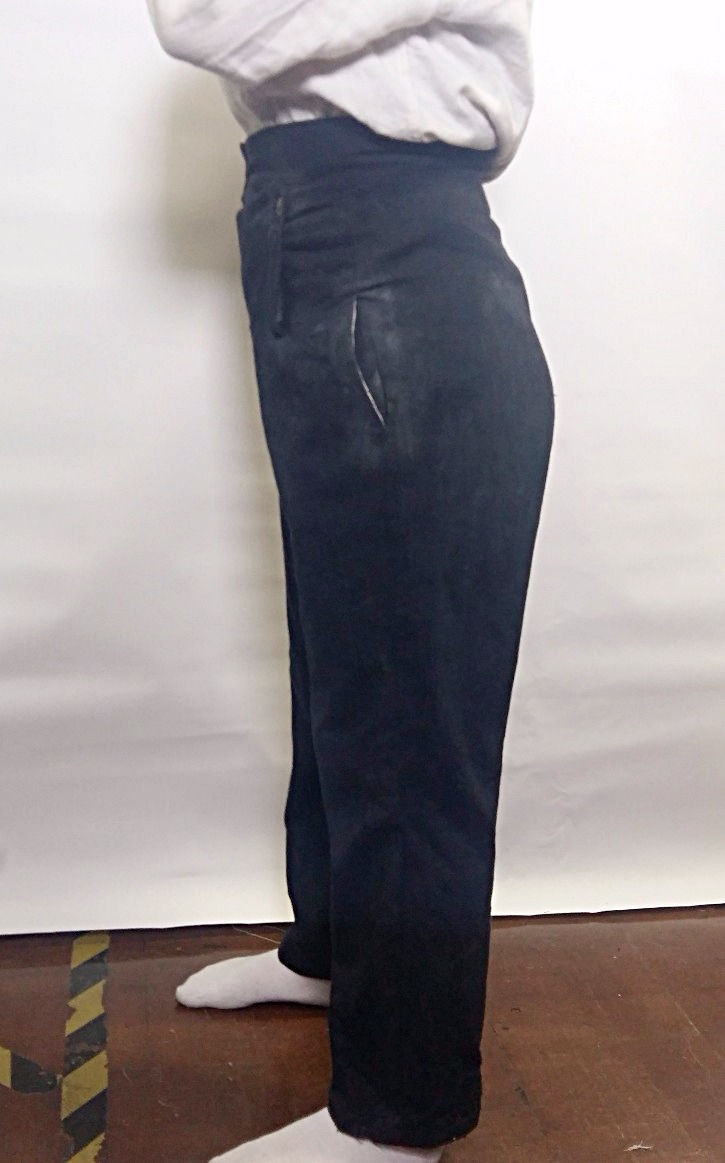
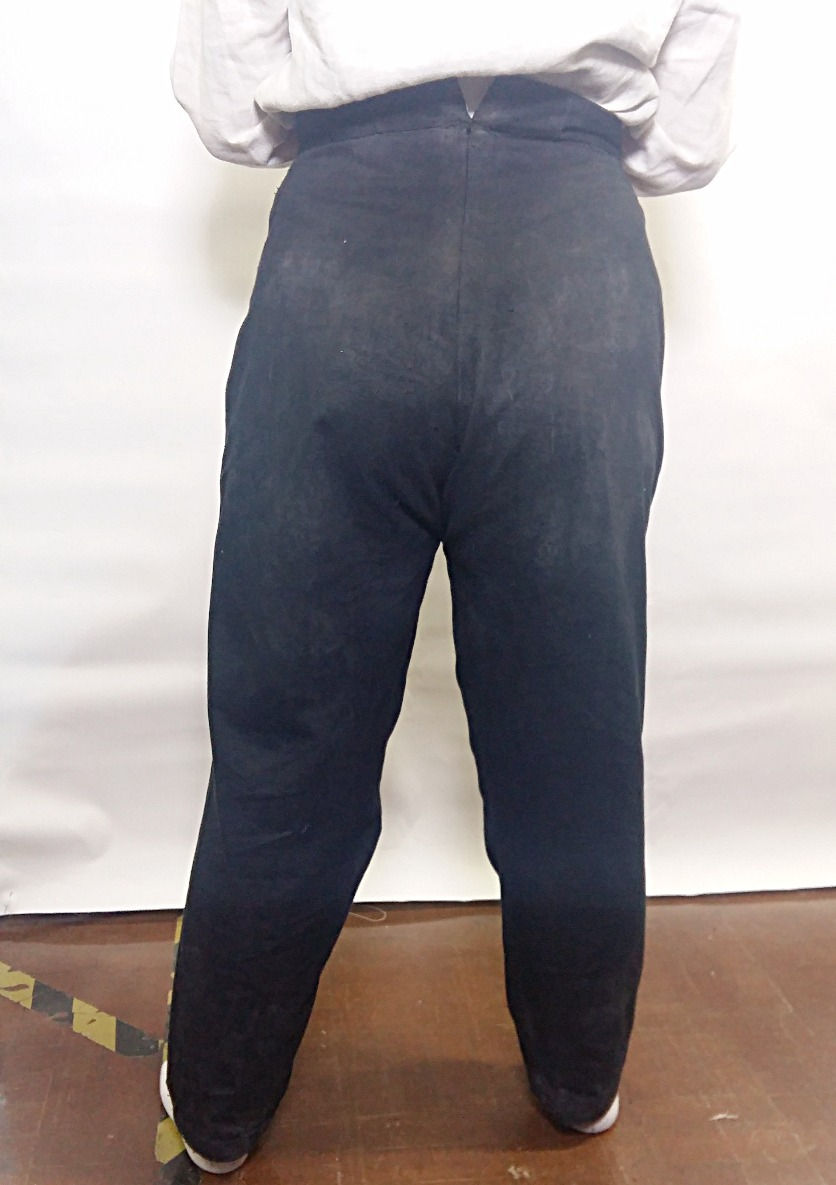
As you can see the trousers turned out looking alright, okay, apart from the saggy bum look. I don't think that will ever catch on again!


Comments